DIY Party Decorations That Look Professionally Designed
Create stunning DIY party decorations on a budget. Step-by-step guides for balloon garlands, paper flowers, photo backdrops, and more. $50-$200 budgets.
February 24, 202610 min read
Introduction
Here's a secret the party decor industry doesn't want you to know: about 80% of those stunning, Instagram-worthy party setups you see? They're built from the same handful of techniques, repeated and recombined. A balloon garland. A paper flower wall. Some creative lighting. Strategic use of fabric and greenery.
The difference between a DIY setup that looks homemade and one that looks professionally designed isn't talent or budget — it's knowing which projects give you maximum impact for minimum effort, and executing them with a few professional-level tricks.
You don't need to spend $500 on a party decorator. You don't need an art degree. You do need a glue gun, a balloon pump, and about 3-4 hours of prep time. The result? Decorations that make people walk in and say "Who did this?" followed by genuine disbelief when you say "I did."
Let's build a party that looks like it costs ten times what it actually did.
The Golden Rule: Choose 3 Colors Max
Before you buy a single thing, choose your color palette. This is the single most important decision in party decor — more important than any individual project.
Why 3 colors? Because cohesion is what makes decor look "designed." Professional event designers don't use 7 colors. They use 2-3 colors in varying shades and textures. When everything coordinates, even simple elements look intentional.
How to choose:
1. Start with one anchor color — the dominant tone (e.g., dusty rose, navy, sage green)
2. Add one complementary color — this provides contrast (e.g., gold, white, terracotta)
3. Add one neutral — this ties everything together (white, cream, black, or gray)
Proven palettes that always work:
• Sage green + white + gold (elegant, natural)
• Dusty rose + burgundy + cream (romantic, warm)
• Navy + white + silver (classic, polished)
• Terracotta + cream + olive (boho, earthy)
• Black + white + gold (dramatic, modern)
• Peach + coral + cream (soft, cheerful)
Once you have your palette, every purchase decision becomes easy: "Does this match my three colors?" Yes? Buy it. No? Put it back.
High-Impact Project #1: The Balloon Garland
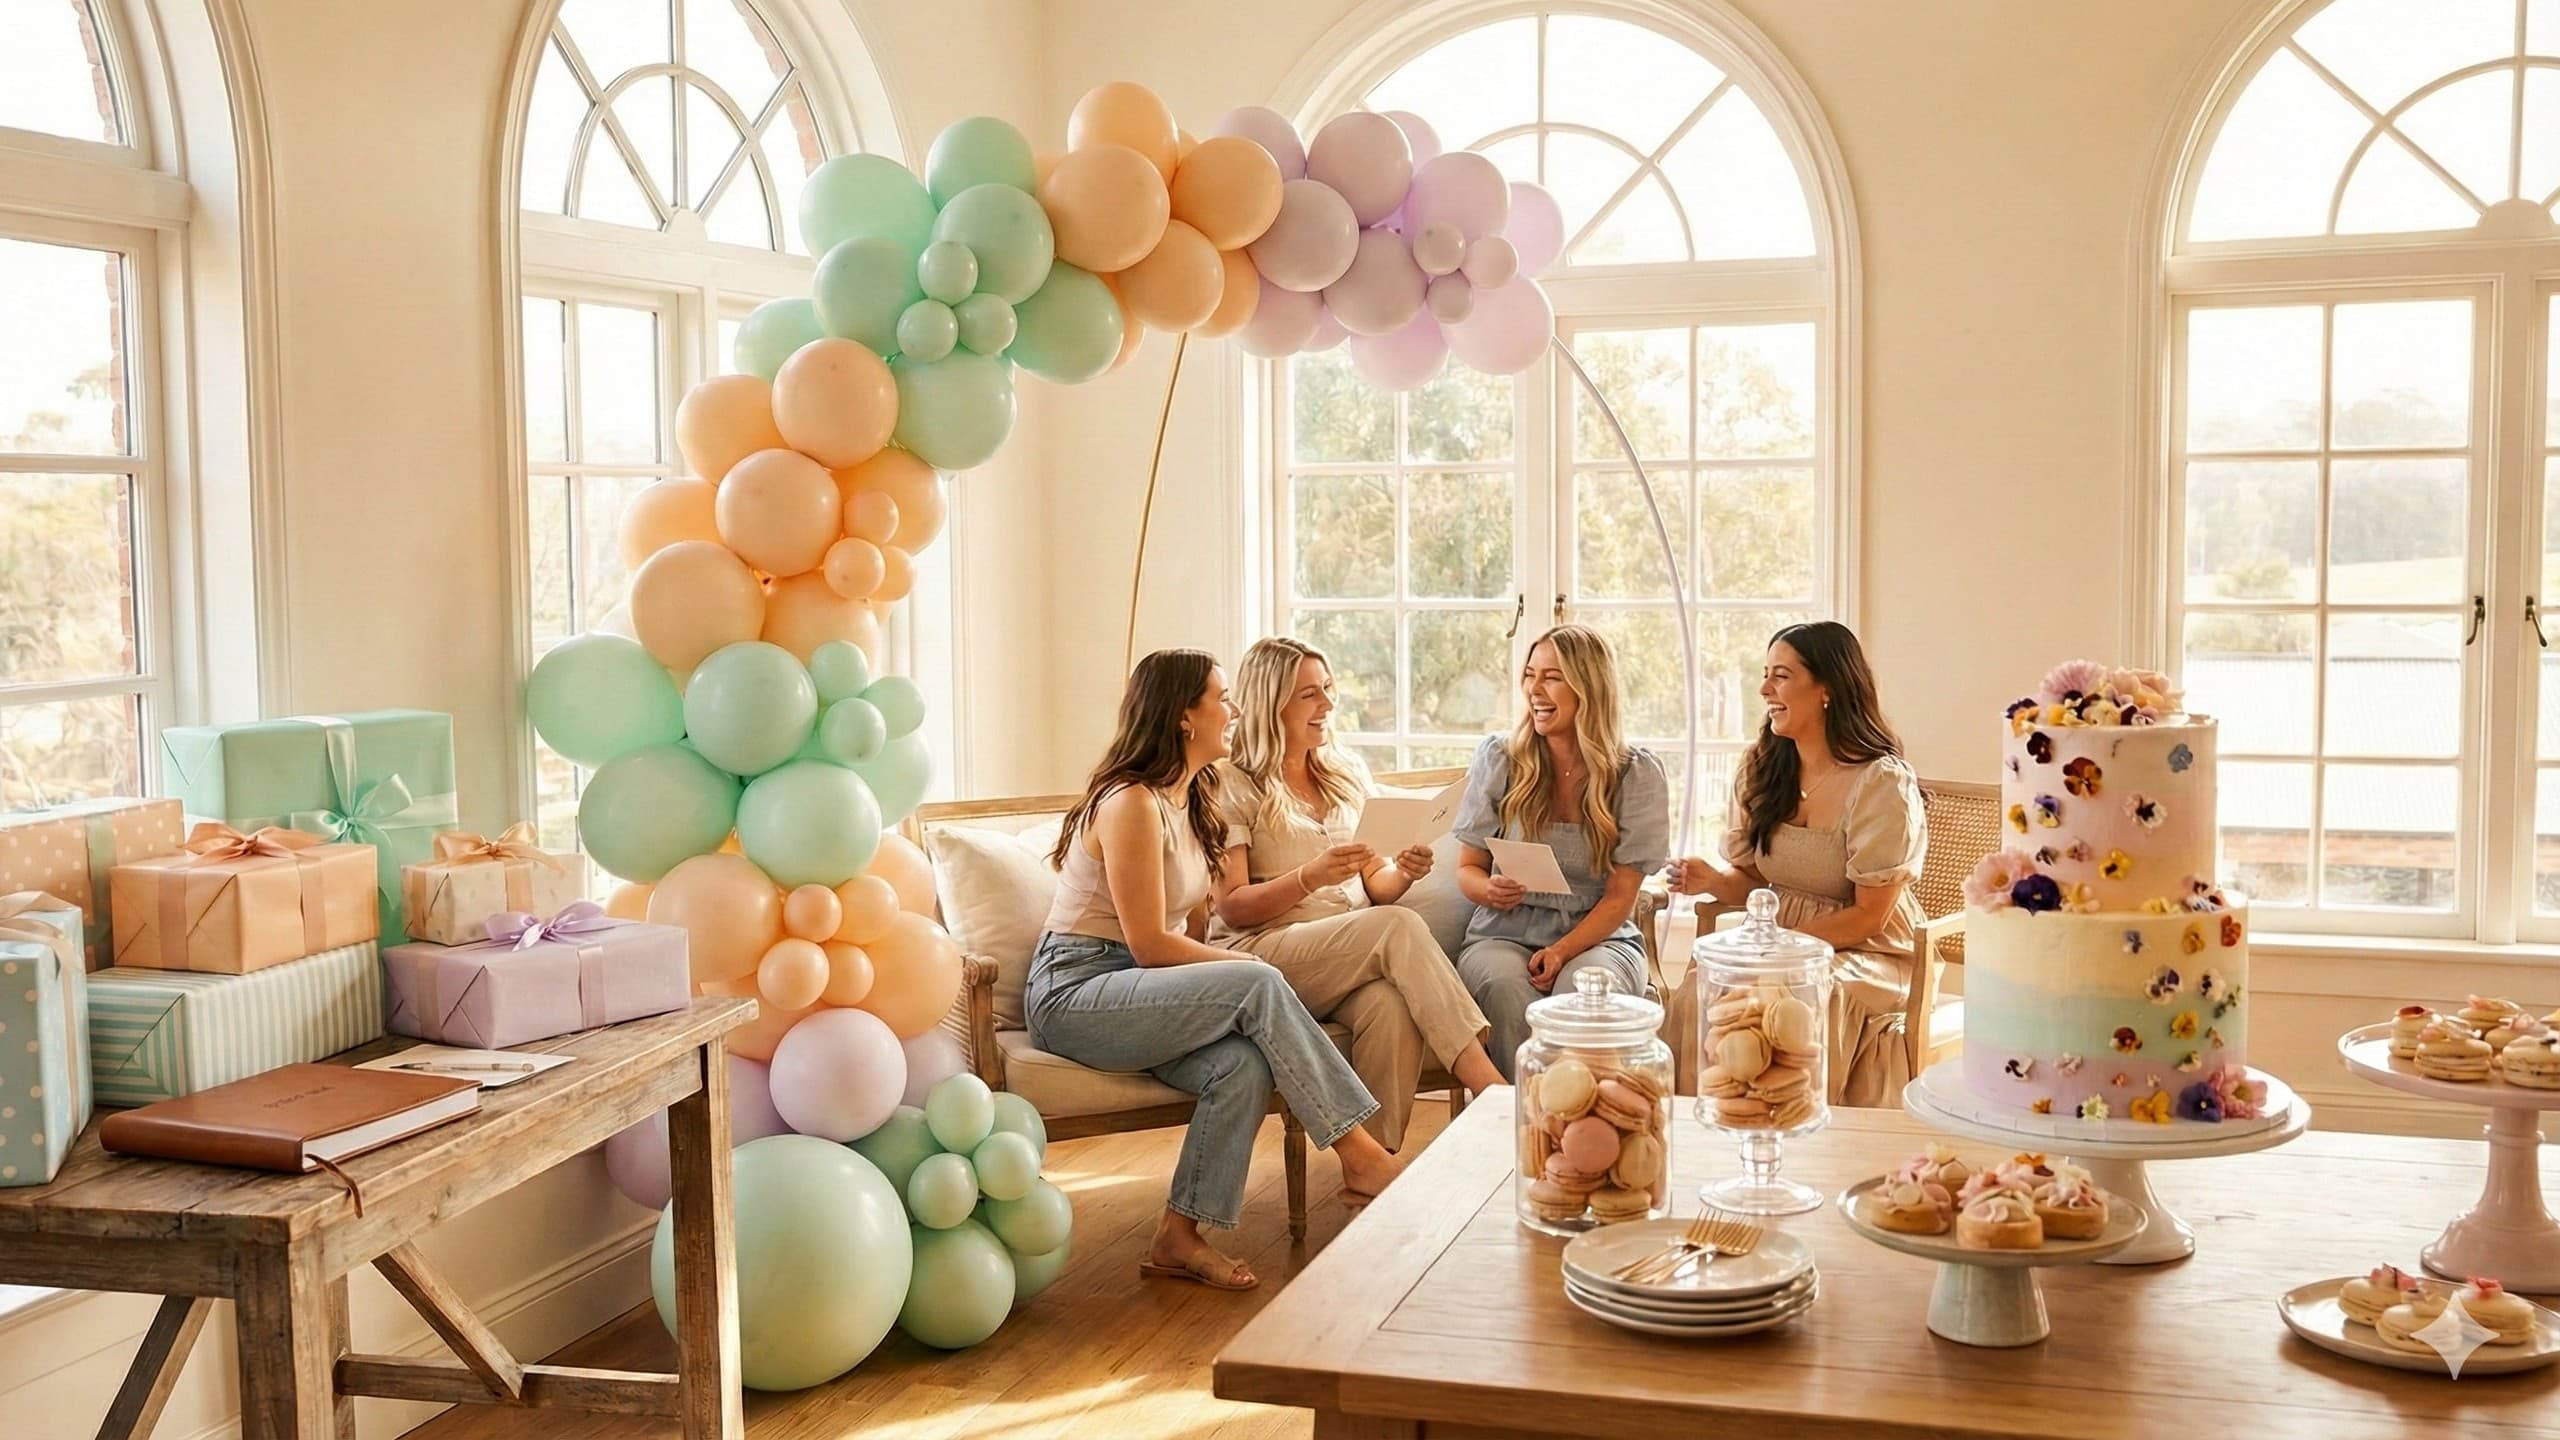
The balloon garland has become the cornerstone of modern party decor, and for good reason. It's relatively inexpensive, endlessly customizable, and creates a dramatic visual impact that photographs beautifully. A well-made balloon garland can transform a blank wall into a focal point in under an hour.
WHAT YOU'LL NEED
• 50-100 balloons in 3-4 colors (including at least 2 different sizes — standard 11" and smaller 5")
• Balloon strip (also called balloon arch tape — a plastic strip with evenly spaced holes)
• Balloon pump (electric is worth the $15 investment — manual pumps will destroy your hands)
• Command hooks or removable adhesive strips
• Fishing line or ribbon for hanging
• Optional: faux greenery, flowers, or metallic accents to weave in
STEP-BY-STEP GUIDE
Step 1: Inflate your balloons. Mix sizes intentionally. About 60% standard (11"), 30% small (5"), and 10% jumbo (18") if you're including them. Don't inflate them all to the same size — variation is what makes it look organic and professional.
Step 2: Thread balloons onto the strip. Push the tied end of each balloon through the holes in the balloon strip. Alternate colors and sizes. Don't overthink the pattern — random distribution of your chosen colors looks better than a rigid ABAB pattern.
Step 3: Fill the gaps. Use your smallest balloons to fill any holes or gaps. Attach these directly to the garland by tying them to the necks of the larger balloons.
Step 4: Attach to the wall. Use Command hooks (removable and damage-free) to secure the garland. Fish the balloon strip's edge around the hooks. Shape the garland into a gentle arch or cascading swag.
Step 5: Add organic elements. Tuck faux eucalyptus, greenery, or flowers into the gaps. This elevates it from "nice" to "wow" immediately.
PRO TIPS
• Inflate balloons the morning of the event (not the night before — they'll shrink overnight)
• Keep a few extra balloons ready for last-minute replacements
• Use a variety of finishes within your palette: matte, pearl, chrome, and confetti-filled
• Size variety is everything — a garland of identically sized balloons looks amateur
Cost: $15-$40
Time: 45-90 minutes
Impact level: Very high
High-Impact Project #2: Paper Flower Wall
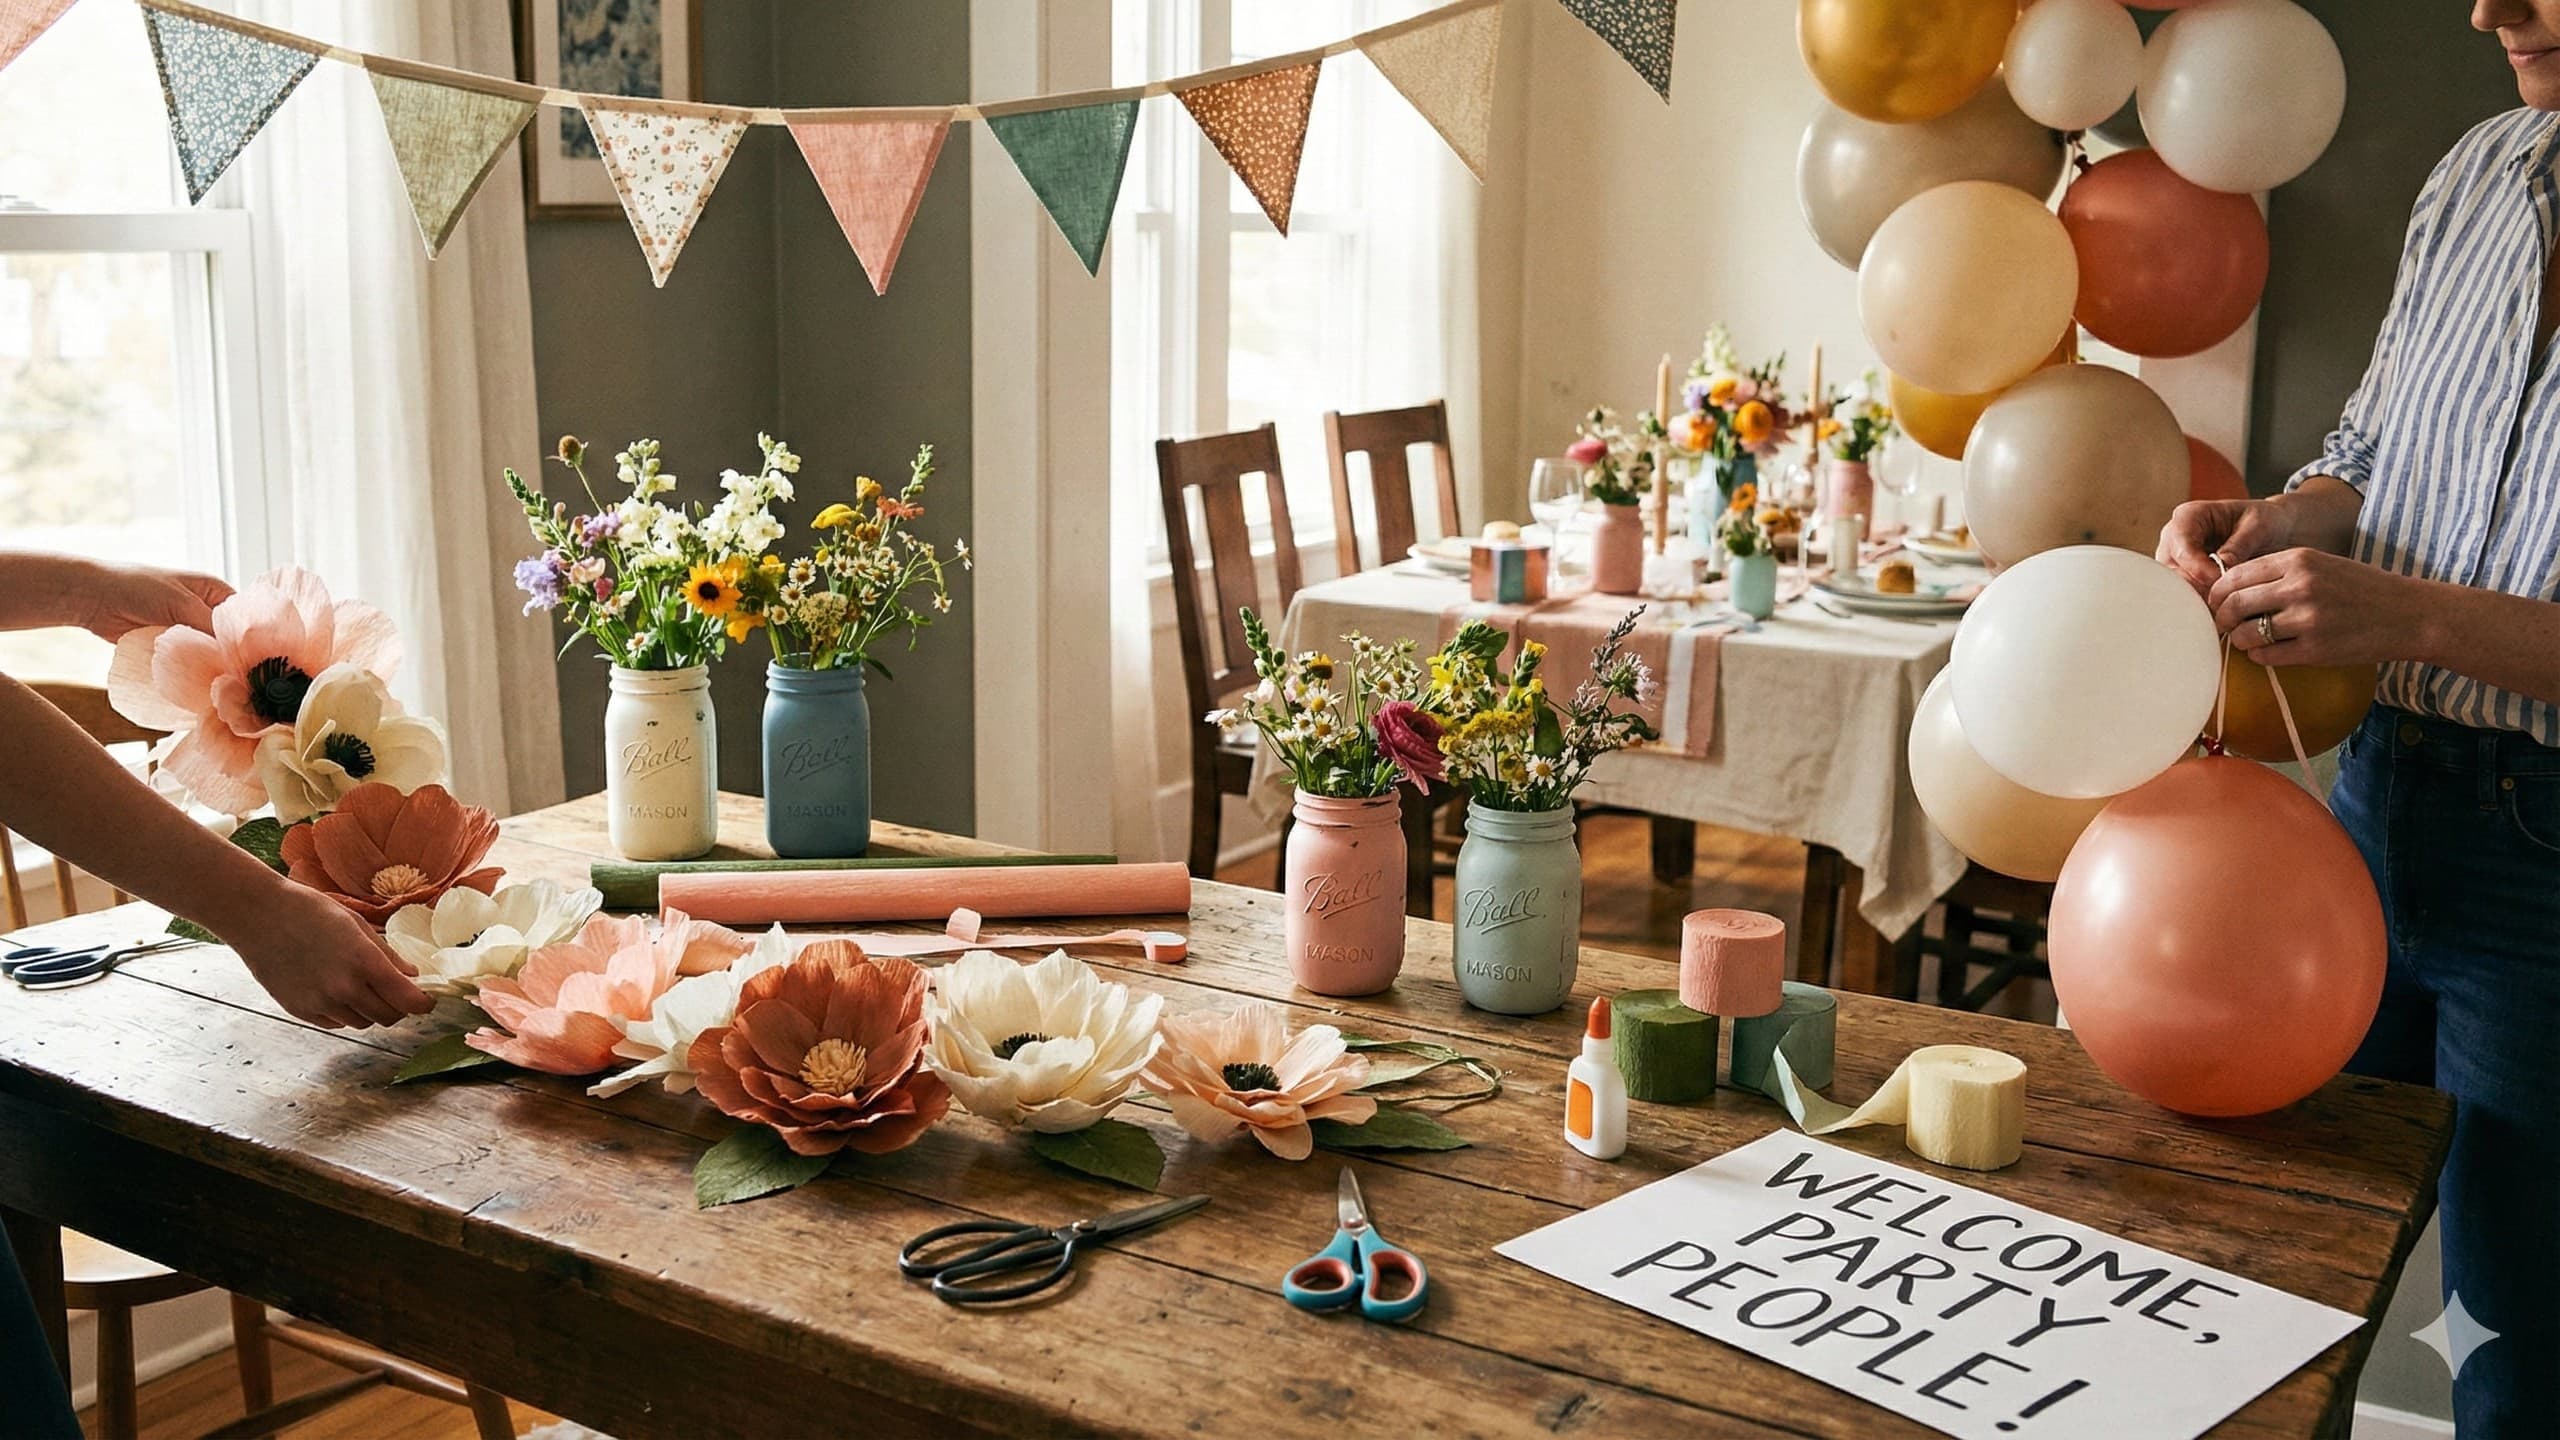
A paper flower wall creates a stunning backdrop for photos, the dessert table, or the gift area. It sounds complicated, but each flower takes about 5-10 minutes once you have the technique down — and you only need 15-25 flowers for a full backdrop.
WHAT YOU'LL NEED
• Cardstock in your color palette (heavy weight — at least 65 lb)
• Scissors or a cutting machine (Cricut or Silhouette, if you have access)
• Hot glue gun and glue sticks
• Pencil (for curling petals)
• A flat surface to attach them to (foam board, plywood, or directly to the wall with adhesive)
STEP-BY-STEP: THE CLASSIC ROSE
Step 1: Cut a circle from cardstock, roughly 6-8 inches in diameter.
Step 2: Starting from the outer edge, cut a spiral toward the center. Make the spiral strip about 1-1.5 inches wide.
Step 3: Starting from the outer end, roll the spiral tightly. As you roll toward the center, let it loosen slightly to create petal-like layers.
Step 4: Hot glue the center circle (the end of the spiral) to the bottom to secure the shape.
Step 5: Gently pull and adjust the "petals" to open the flower to your desired fullness.
Step 6: Use a pencil to curl the petal edges outward for a more realistic look.
BUILDING THE WALL
• Mix flower sizes: make some 4" diameter, some 8", and a few 12" for variety
• Add paper leaves between flowers (cut leaf shapes from green cardstock)
• Arrange in a cluster pattern — denser in the center, spreading out toward the edges
• Attach to foam board or directly to the wall with removable adhesive strips
Cost: $15-$30
Time: 2-4 hours (good podcast or TV show project)
Impact level: Very high
High-Impact Project #3: Custom Banners and Signage
Custom banners and signs tell guests they're somewhere intentional. They announce the event, direct traffic, and add personality.
TYPES OF BANNERS
Letter Banner (Garland Style):
• Print or hand-letter each letter on cardstock
• Punch holes in the top corners
• Thread twine or ribbon through
• Hang with Command hooks or tape
Acrylic Sign (Professional Look):
• Buy a clear acrylic sheet from a craft store ($5-$10)
• Use acrylic paint markers or vinyl lettering (Cricut)
• "Welcome to [Name]'s Party" or "Baby Shower" or "Cheers to 30 Years"
• Place on an easel or lean against a wall
Chalkboard Sign:
• Dollar store chalkboard + chalk markers = instant custom signage
• Perfect for menu boards, welcome signs, and directional signs
• Chalk markers (not regular chalk) give clean, readable lines
Foam Board Signs:
• Print a design at home or at a print shop
• Mount on foam board (dollar store)
• Use an easel or prop against a display
PRO TIPS
• Consistent fonts across all signage makes everything look coordinated
• Canva (free) has thousands of templates you can customize and print at home
• For a cohesive look, make all signs with the same background color or style
Cost: $5-$25
Time: 30-60 minutes
Impact level: Medium-high
High-Impact Project #4: Table Centerpieces
Centerpieces anchor the dining experience. They don't need to be elaborate — they need to be intentional.
FIVE CENTERPIECE IDEAS UNDER $10 EACH
1. The Grouped Candle Display
Three candles of varying heights on a small tray or mirror. Add scattered greenery or flower petals around the base. Total cost: $5-$8.
2. The Mason Jar Arrangement
A mason jar (or cleaned pasta sauce jar) with a small bouquet of grocery store flowers. Wrap twine or ribbon around the jar in your color palette. Total cost: $4-$7.
3. The Balloon Centerpiece
A single helium balloon weighted by a small vase filled with candies, flowers, or tissue paper. Total cost: $3-$5.
4. The Book Stack
Stack 2-3 thrift store books (remove dust jackets for a clean look). Top with a small vase of flowers or a candle. Works beautifully for literary-themed events. Total cost: $3-$6.
5. The Greenery Runner
Rather than individual centerpieces, lay a continuous runner of faux greenery down the center of the table. Tuck in candles, small flowers, or decorative objects. Creates an elegant, garden-party feel. Total cost: $8-$15 per table.
Cost: $3-$15 per centerpiece
Time: 15-30 minutes each
Impact level: Medium
High-Impact Project #5: Photo Backdrops
Every party needs a photo moment. A dedicated backdrop gives guests a spot to take pictures and ensures you get great group shots.
EASY BACKDROP IDEAS
The Streamer Wall:
Hang streamers in your color palette from a horizontal string or rod. Alternate colors and leave them at full length for a curtain effect. Takes 15 minutes and costs under $10.
The Fabric Drape:
Buy 3-5 yards of inexpensive fabric (tulle, muslin, or polyester in your colors). Drape, bunch, and pin it to a wall or frame. Add a few balloon clusters or a paper flower accent.
The Fringe Wall:
Cut metallic or tissue paper fringe curtains (available at party stores or Amazon for $3-$5 each). Layer 2-3 colors. It photographs incredibly well — shimmery, textured, and party-perfect.
The Greenery Wall:
Attach faux greenery panels (available at dollar stores, IKEA, or Amazon) to a foam board or trellis. Tuck in a few flowers. This backdrop is reusable for future events.
The Frame Backdrop:
Hang a large, empty picture frame (thrift store find) and let guests pose "inside" it. Simple, clever, and endlessly photographable.
Cost: $5-$30
Time: 20-45 minutes
Impact level: High
High-Impact Project #6: Lighting Transformation
Lighting is the single most underrated element of party decor. It changes the entire mood of a space and costs almost nothing.
TECHNIQUES
String Lights: Drape warm white string lights across the ceiling, along walls, or around a focal area. This alone transforms a room from "regular" to "magical." Battery-operated LED string lights are $3-$8 and last all night.
Candles: Real or LED (LED is safer and worry-free). Cluster them on tables, in windowsills, and along walkways. The warm, flickering light is instantly atmospheric.
Paper Lanterns: Hang paper lanterns at varying heights from the ceiling. Available in every color for $1-$3 each. Use LED tea lights inside (never real candles).
Uplighting: Point a floor lamp or clip light upward toward the ceiling to create warm, indirect light. Cover the lamp with tissue paper in your color palette for a soft, colored glow (keep a safe distance from the bulb).
Dimming: If you have overhead lights on a dimmer, turn them to about 40%. If not, turn off overhead lights entirely and rely on your string lights and candles.
Cost: $10-$30
Time: 15-30 minutes
Impact level: Extremely high (the best effort-to-impact ratio on this list)
Your DIY Toolkit
Before starting any project, make sure you have these essentials:
THE MUST-HAVES
• Hot glue gun + extra glue sticks — the backbone of DIY decor ($8-$12)
• Electric balloon pump — saves hours and your lungs ($12-$18)
• Fishing line — invisible hanging solution for garlands, banners, and suspended decor ($3)
• Command hooks (various sizes) — damage-free attachment to walls ($5-$10)
• Scissors + tape + twine — the basics
• A measuring tape — for spacing and symmetry
NICE-TO-HAVES
• Floral wire and tape — for attaching greenery and flowers ($5)
• Acrylic paint markers — for custom signage on any surface ($10-$15)
• A Cricut or cutting machine — for precision cutting (a serious investment, but if you throw parties regularly, it pays for itself)
• A steamer — for smoothing wrinkled fabric backdrops ($20-$30 or borrow one)
The Day-Before vs. Day-Of Timeline
Not all decor can be made in advance. Here's how to split your prep:
MAKE IN ADVANCE (DAYS TO WEEKS BEFORE)
• Paper flowers
• Banners and signage
• Table numbers or labels
• Favor bags or packages
• Any painted or crafted elements
SET UP DAY BEFORE
• Fabric backdrops (so wrinkles have time to relax)
• Table centerpiece bases
• Lighting installations
• Any heavy or structural elements
DAY OF ONLY
• Balloon garlands (they deflate overnight)
• Fresh flowers
• Candle lighting
• Food-related decor
• Final arrangement and tweaking
Common DIY Disasters (and How to Avoid Them)
DISASTER #1: BALLOONS DEFLATING BEFORE THE PARTY
Prevention: Inflate balloons no more than 4-6 hours before the event. If you must prep earlier, use Hi-Float (a liquid that coats the inside of latex balloons and extends their life to 24+ hours).
DISASTER #2: THE HOT GLUE BURNOUT
Prevention: Invest in a dual-temperature glue gun. Use low heat for delicate materials (paper, fabric) and high heat for heavier items. And keep a bowl of ice water nearby — dipping a glue-burned finger in ice water immediately prevents blistering.
DISASTER #3: DECORATIONS THAT WON'T STICK
Prevention: Command hooks fail on textured walls. For brick, stone, or rough surfaces, use adhesive-backed Velcro strips or hook directly into mortar. For outdoor use, use zip ties, wire, or weight-based solutions (no adhesive will survive humidity).
DISASTER #4: THE "MORE IS MORE" MISTAKE
Prevention: Step back from your setup and look at it from the entry point — the angle guests will first see it from. If it looks cluttered or overwhelming, remove 20%. The "80/20 rule" of party decor: 20% of your decorations create 80% of the visual impact. Find that 20% and let them breathe.
DISASTER #5: COLORS THAT DON'T MATCH
Prevention: Buy all your supplies in one trip from one store if possible. Colors vary between brands and batches. A "blush" from one brand can clash with a "blush" from another. When in doubt, hold items next to each other before purchasing.
The 80/20 Rule of Party Decor
This principle is worth its own section because it will save you hours, dollars, and stress.
80% of your party's visual impact comes from 20% of your decorations.
Those 20% are:
1. The entry area — what guests see first
2. The food/drink table — where everyone gathers
3. The photo backdrop — where memories are made
4. The lighting — the overall mood setter
Everything else — individual table decorations, napkin rings, coordinated toothpick flags, themed toilet paper (yes, this exists) — is nice, but not what people notice or remember.
Focus your budget, time, and energy on those four zones. Keep everything else simple and color-coordinated. You'll spend less, stress less, and end up with a better-looking party.
Where to Buy Supplies for Less
BEST BUDGET SOURCES
• Dollar Tree / Dollar stores — balloons, streamers, candles, vases, tableware, floral supplies
• Amazon — balloon garland kits, paper lanterns, string lights, backdrop materials (read reviews for quality)
• IKEA — candles, vases, greenery, frames, fabric
• Grocery store floral department — fresh flowers at a fraction of florist prices
• Thrift stores — vases, frames, baskets, fabric, books, candle holders
• Walmart / Target — party supplies, basic decor, tableware
• Etsy — printable designs, custom banners, unique handmade items
• Facebook Marketplace / Buy Nothing groups — secondhand party supplies, decorations from recent events
THE REUSE STRATEGY
If you throw parties even semi-regularly, invest in "neutral" decor that works for multiple events:
• White and gold string lights (work for everything)
• Clear vases (adapt to any palette with different flowers)
• A good balloon pump (pays for itself in two uses)
• Faux greenery (eucalyptus, olive branches — universally beautiful)
• Basic white or black tablecloths
Instagram-Worthy Results on a Budget
Here's what you can create at each budget level:
THE $50 PARTY SETUP
• Balloon garland in 3 colors ($15)
• String lights ($8)
• Custom banner from Canva, printed at home ($3 for cardstock)
• 3 simple centerpieces ($9)
• Streamers and tissue paper accents ($5)
• Tableware in coordinating colors ($10)
THE $100 PARTY SETUP
Everything in the $50 setup, plus:
• Paper flower wall or backdrop ($20)
• Upgraded centerpieces with fresh flowers ($15)
• Candle clusters ($10)
• Additional signage ($5)
THE $200 PARTY SETUP
Everything in the $100 setup, plus:
• Fabric draping ($20)
• Professional-looking acrylic signs ($15)
• A photo booth station with props ($20)
• Faux greenery accents throughout ($25)
• Upgraded tableware and linens ($20)
At the $200 level, your party will genuinely look like it was professionally decorated. Guests will not believe you did it yourself. That's the power of cohesive color, a few high-impact projects, and strategic execution.
The Final Step: Capturing It All
You've spent hours creating beautiful decor. Make sure it gets documented before guests arrive and things get moved around.
Take "venue shots" of the full setup — wide angles that capture the entire room. Photograph each station (food, dessert, photo backdrop). These clean shots, before plates are used and napkins are crumpled, are the ones you'll want to remember.
And once the party starts, the best photos aren't of the decorations — they're of people enjoying the space you created. The laughing, the toasting, the dancing, the kids running through the streamer curtain. Those are the moments worth keeping.
For gathering all those candid guest photos in one place, Eventifia's shared photo albums let everyone upload their shots to a single collection — no texting, no AirDrop requests, no lost photos on someone else's camera roll. You get the complete visual story of the party you designed, from every angle and every guest's perspective.
Now go make something beautiful. You've got this.
Ready to plan the party behind the decorations? Try Eventifia to handle your RSVPs, guest communication, and photo sharing — so you can spend your energy on the fun, creative stuff.