Wedding Seating Chart Guide: From Strategy to Stress-Free Arrangements
Create the perfect wedding seating chart with our step-by-step guide. Table layouts, grouping strategies, common mistakes, and drag-and-drop tools explained.
February 24, 202610 min read
Introduction
Of all the tasks involved in wedding planning, the seating chart occupies a unique position. It is simultaneously one of the most dreaded, most delayed, and most impactful decisions you will make. Dreaded because it forces you to think about interpersonal dynamics among your guests in excruciating detail. Delayed because it cannot be finalized until your RSVP deadline has passed. Impactful because it directly shapes your guests' experience — who they sit with determines who they talk to, laugh with, and remember from the evening.
According to a 2025 survey by Brides Magazine, 71% of couples said creating the seating chart was more stressful than expected, and 42% said they changed it at least three times before settling on a final version. The average couple spends 8-12 hours on seating arrangements for a 150-person wedding.
But it does not have to be a miserable process. With the right strategy, the right timing, and the right tools, you can create a seating chart that keeps everyone comfortable and makes your reception flow beautifully.
When to Start (And Why Not Before)
The most common timing mistake couples make is starting their seating chart too early. If you begin before your RSVP deadline, you will be rearranging tables every time a new response comes in or a guest changes their plus-one status. That is a recipe for frustration.
The ideal timeline:
• 4-6 weeks before the wedding: Start thinking about general groupings (family tables, college friends, work colleagues). You can sketch rough clusters without committing to specific seats.
• 3-4 weeks before the wedding: After your RSVP deadline, begin the actual chart with confirmed guests. Follow up with non-responders.
• 2 weeks before the wedding: Finalize the chart. Submit table counts and any special arrangements to your venue and caterer.
• 1 week before the wedding: Make any last-minute adjustments for late changes. Print or order your place cards and table assignments.
Plan for 2-3 working sessions, not one marathon night. Fresh eyes catch conflicts and opportunities that exhausted eyes miss.
Table Shape and Layout Options
Your table layout affects conversation dynamics, room flow, and overall atmosphere. Each shape has distinct advantages.
ROUND TABLES (SEATS 8-10)
The most popular choice for wedding receptions, and for good reason. Round tables encourage conversation because everyone faces the center, making it easy to speak with the person across from you and both neighbors. The circular shape also creates a democratic seating arrangement — there is no "head" of the table.
Best for: Large receptions, diverse guest groups, venues with wide floor plans.
Downsides: They consume more floor space per guest than rectangular tables. At tables of 10, guests on opposite sides may not interact much.
RECTANGULAR / BANQUET TABLES (SEATS 8-12)
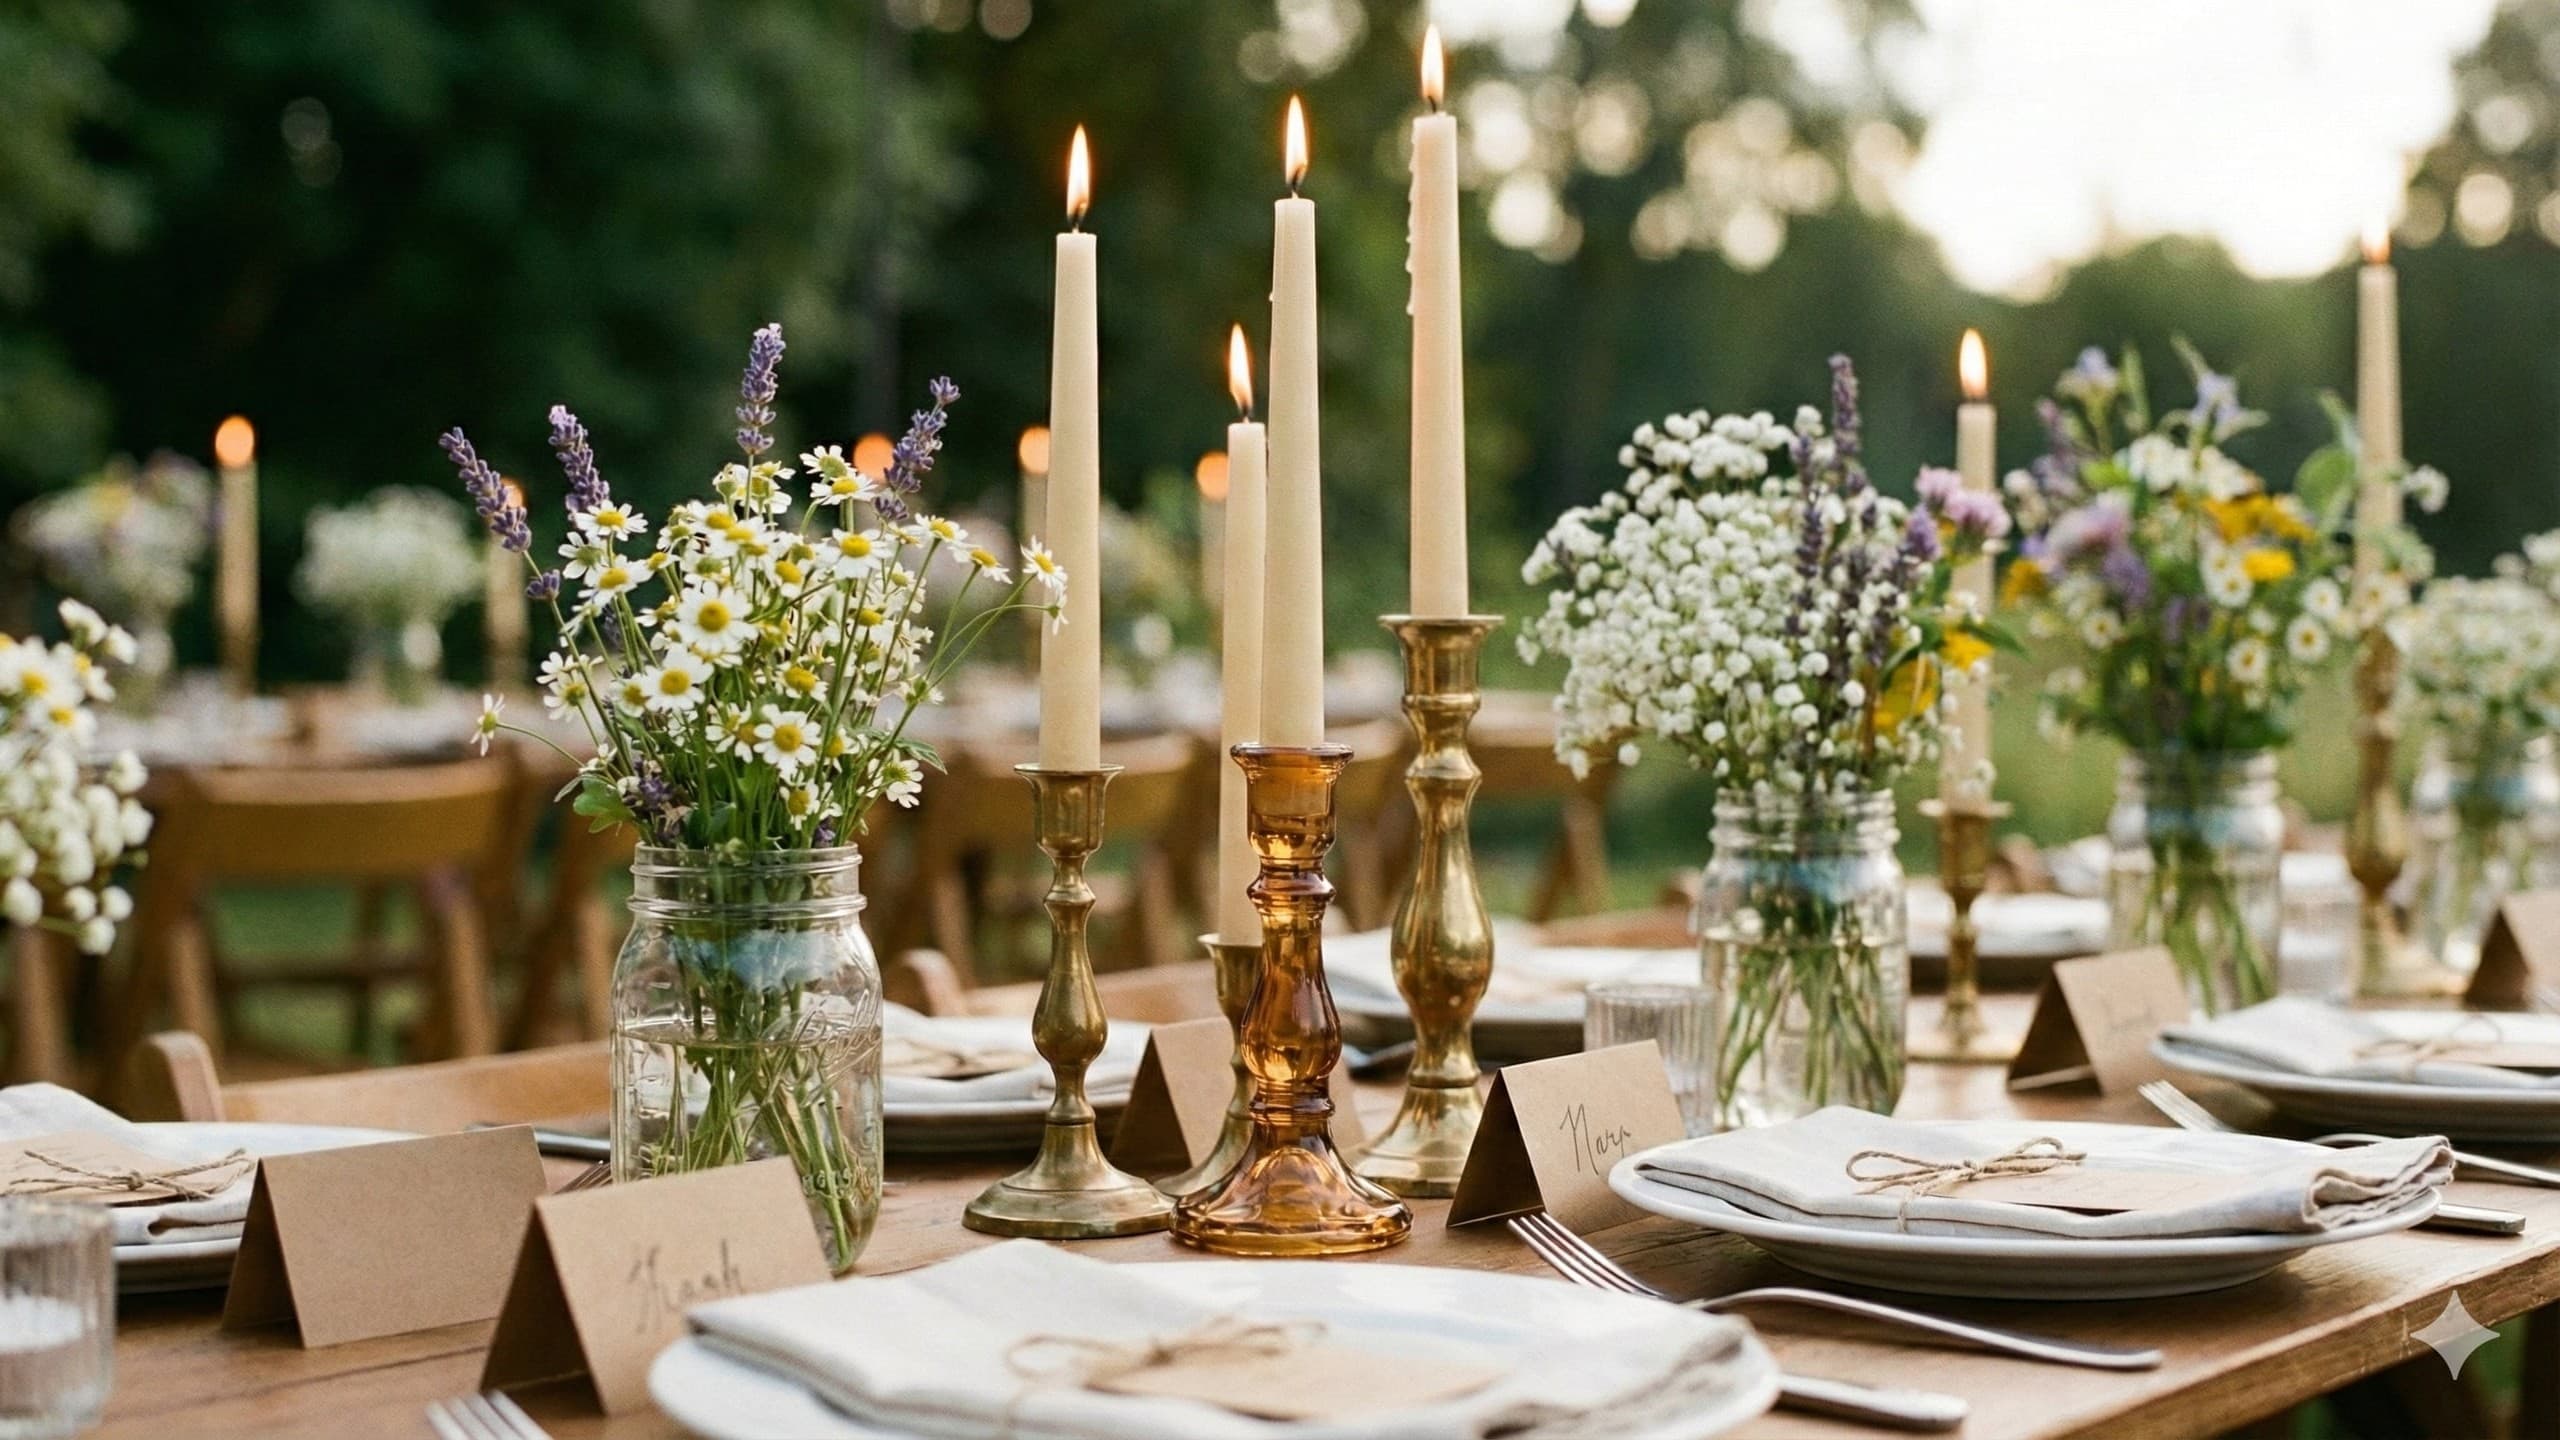
Long rectangular tables create a communal, family-dinner atmosphere. They work beautifully in barn settings, industrial lofts, or any venue with a long, narrow floor plan. Guests sit across from each other, which facilitates intimate conversation between the two people directly opposite.
Best for: Rustic or farmhouse aesthetics, venues with elongated spaces, weddings emphasizing a communal dining experience.
Downsides: Guests interact primarily with their immediate neighbors (1-2 people on each side and 1-2 across). The ends of long tables can feel disconnected from the middle.
MIXED LAYOUTS
Combining round and rectangular tables is increasingly popular and solves several problems at once. Use a long head table or sweetheart table for the couple and wedding party, rectangular tables for family groupings, and round tables for friend groups. This creates visual interest and allows different table shapes to serve different social dynamics.
THE HEAD TABLE VS. THE SWEETHEART TABLE
The head table traditionally seats the couple, their wedding party, and sometimes the spouses or partners of the wedding party. It is positioned prominently, often at the front of the room.
Pros: Traditional, creates a clear focal point, keeps the wedding party together.
Cons: Separates wedding party members from their dates. Can feel hierarchical. Uneven numbers (if bridesmaids outnumber groomsmen or vice versa) create awkward gaps.
The sweetheart table seats only the couple, typically at a small, beautifully decorated table for two, positioned prominently.
Pros: The couple gets moments of private connection during the meal. Wedding party members sit with their dates. No awkward uneven-number problem. Romantic atmosphere.
Cons: Some couples feel exposed or on display. The wedding party may feel excluded from the "main" table.
The family table is a growing alternative: the couple sits at a larger round table with their parents and grandparents. The wedding party sits with their dates at nearby tables. This approach honors family without the formality of a traditional head table.
Grouping Strategies That Actually Work
The fundamental principle of seating chart design is simple: group people who will enjoy each other's company. The execution is where it gets complicated.
START WITH CLUSTERS, NOT TABLES
Before assigning anyone to a specific table, sort your guests into clusters — groups of people who belong together:
• Family clusters: Your parents' table, your partner's parents' table, extended family from each side
• Friend clusters: College friends, childhood friends, neighborhood friends
• Work clusters: Colleagues who know each other
• Couple's inner circle: The people closest to both of you who cross social groups
Once you have clusters, fit them to tables. A cluster of 6 college friends can join a cluster of 3 from your running club to fill a 9-person round table. This is much easier than assigning individuals one by one.
THE "CONNECTOR" STRATEGY
Every good seating chart has connectors — people who can bridge social groups. Your outgoing friend who knows people from multiple circles. Your partner's cousin who gets along with everyone. Your colleague who is also a wine enthusiast being seated with your foodie friends. Place connectors intentionally at tables where they can facilitate conversation between people who do not know each other.
HANDLING COMMON CHALLENGES
Divorced parents. Seat them at separate tables, each with their respective side's family and friends. If the divorce is amicable, they may be fine at the same table — but ask first, do not assume. If there is a new spouse or partner, they sit with the parent they came with. Never seat a divorced parent alone at a table of strangers.
Single guests. Do not create a "singles table." This is well-intentioned but often uncomfortable, as it signals that these guests were grouped by their relationship status rather than their social connections. Instead, seat single guests with people they know or with small groups where an additional person fits naturally. If a single guest will not know anyone, place them at a table with particularly social, welcoming people.
Plus-ones and new partners. Guests and their plus-ones should always sit together, even if seating them together disrupts an otherwise tidy friend group table. Separating a couple at a wedding where one person knows no one else is a recipe for an uncomfortable evening.
Children. For weddings that include children, you have two options: seat children with their parents (straightforward), or create a dedicated kids' table with age-appropriate activities, supervised by a hired babysitter. The kids' table works well for children ages 4-12, who often prefer being with peers over sitting through adult conversation.
Colleagues and professional contacts. Seat them together or with other guests of a similar professional background. A table of your work friends and your partner's work friends often works well — they share the common ground of knowing the couple professionally and can bond over that.
The "I don't know anyone" guest. This person — maybe a distant relative who traveled far, or a friend from an online community — needs special consideration. Place them at a table with your warmest, most inclusive friends. Brief those friends in advance: "We have a guest at your table who won't know anyone else. Would you mind making them feel welcome?"
Table Numbering and Naming
NUMBERED TABLES
The straightforward approach: tables 1, 2, 3, and so on. Efficient, impossible to misunderstand, and logistically simple. The downside is that lower numbers can feel hierarchical — "Table 1" feels more important than "Table 14."
Tip: If using numbered tables, do not start with Table 1 for the head table or family table. Start numbering at a random number, or number from the back of the room forward, so there is no implied hierarchy.
NAMED TABLES
Using names instead of numbers adds personality and eliminates hierarchy. Popular naming themes:
• Places meaningful to the couple (cities you have traveled to, neighborhoods you have lived in)
• Books, movies, or songs you love
• Types of wine or cocktails
• Flowers or plants
• Inside jokes (if your crowd will appreciate them)
The only requirement: names must be easy to find on a seating chart display. "Table Merlot" is clear. "Table That Little Cafe in the 9th Arrondissement" is not.
The Physical Seating Chart Display
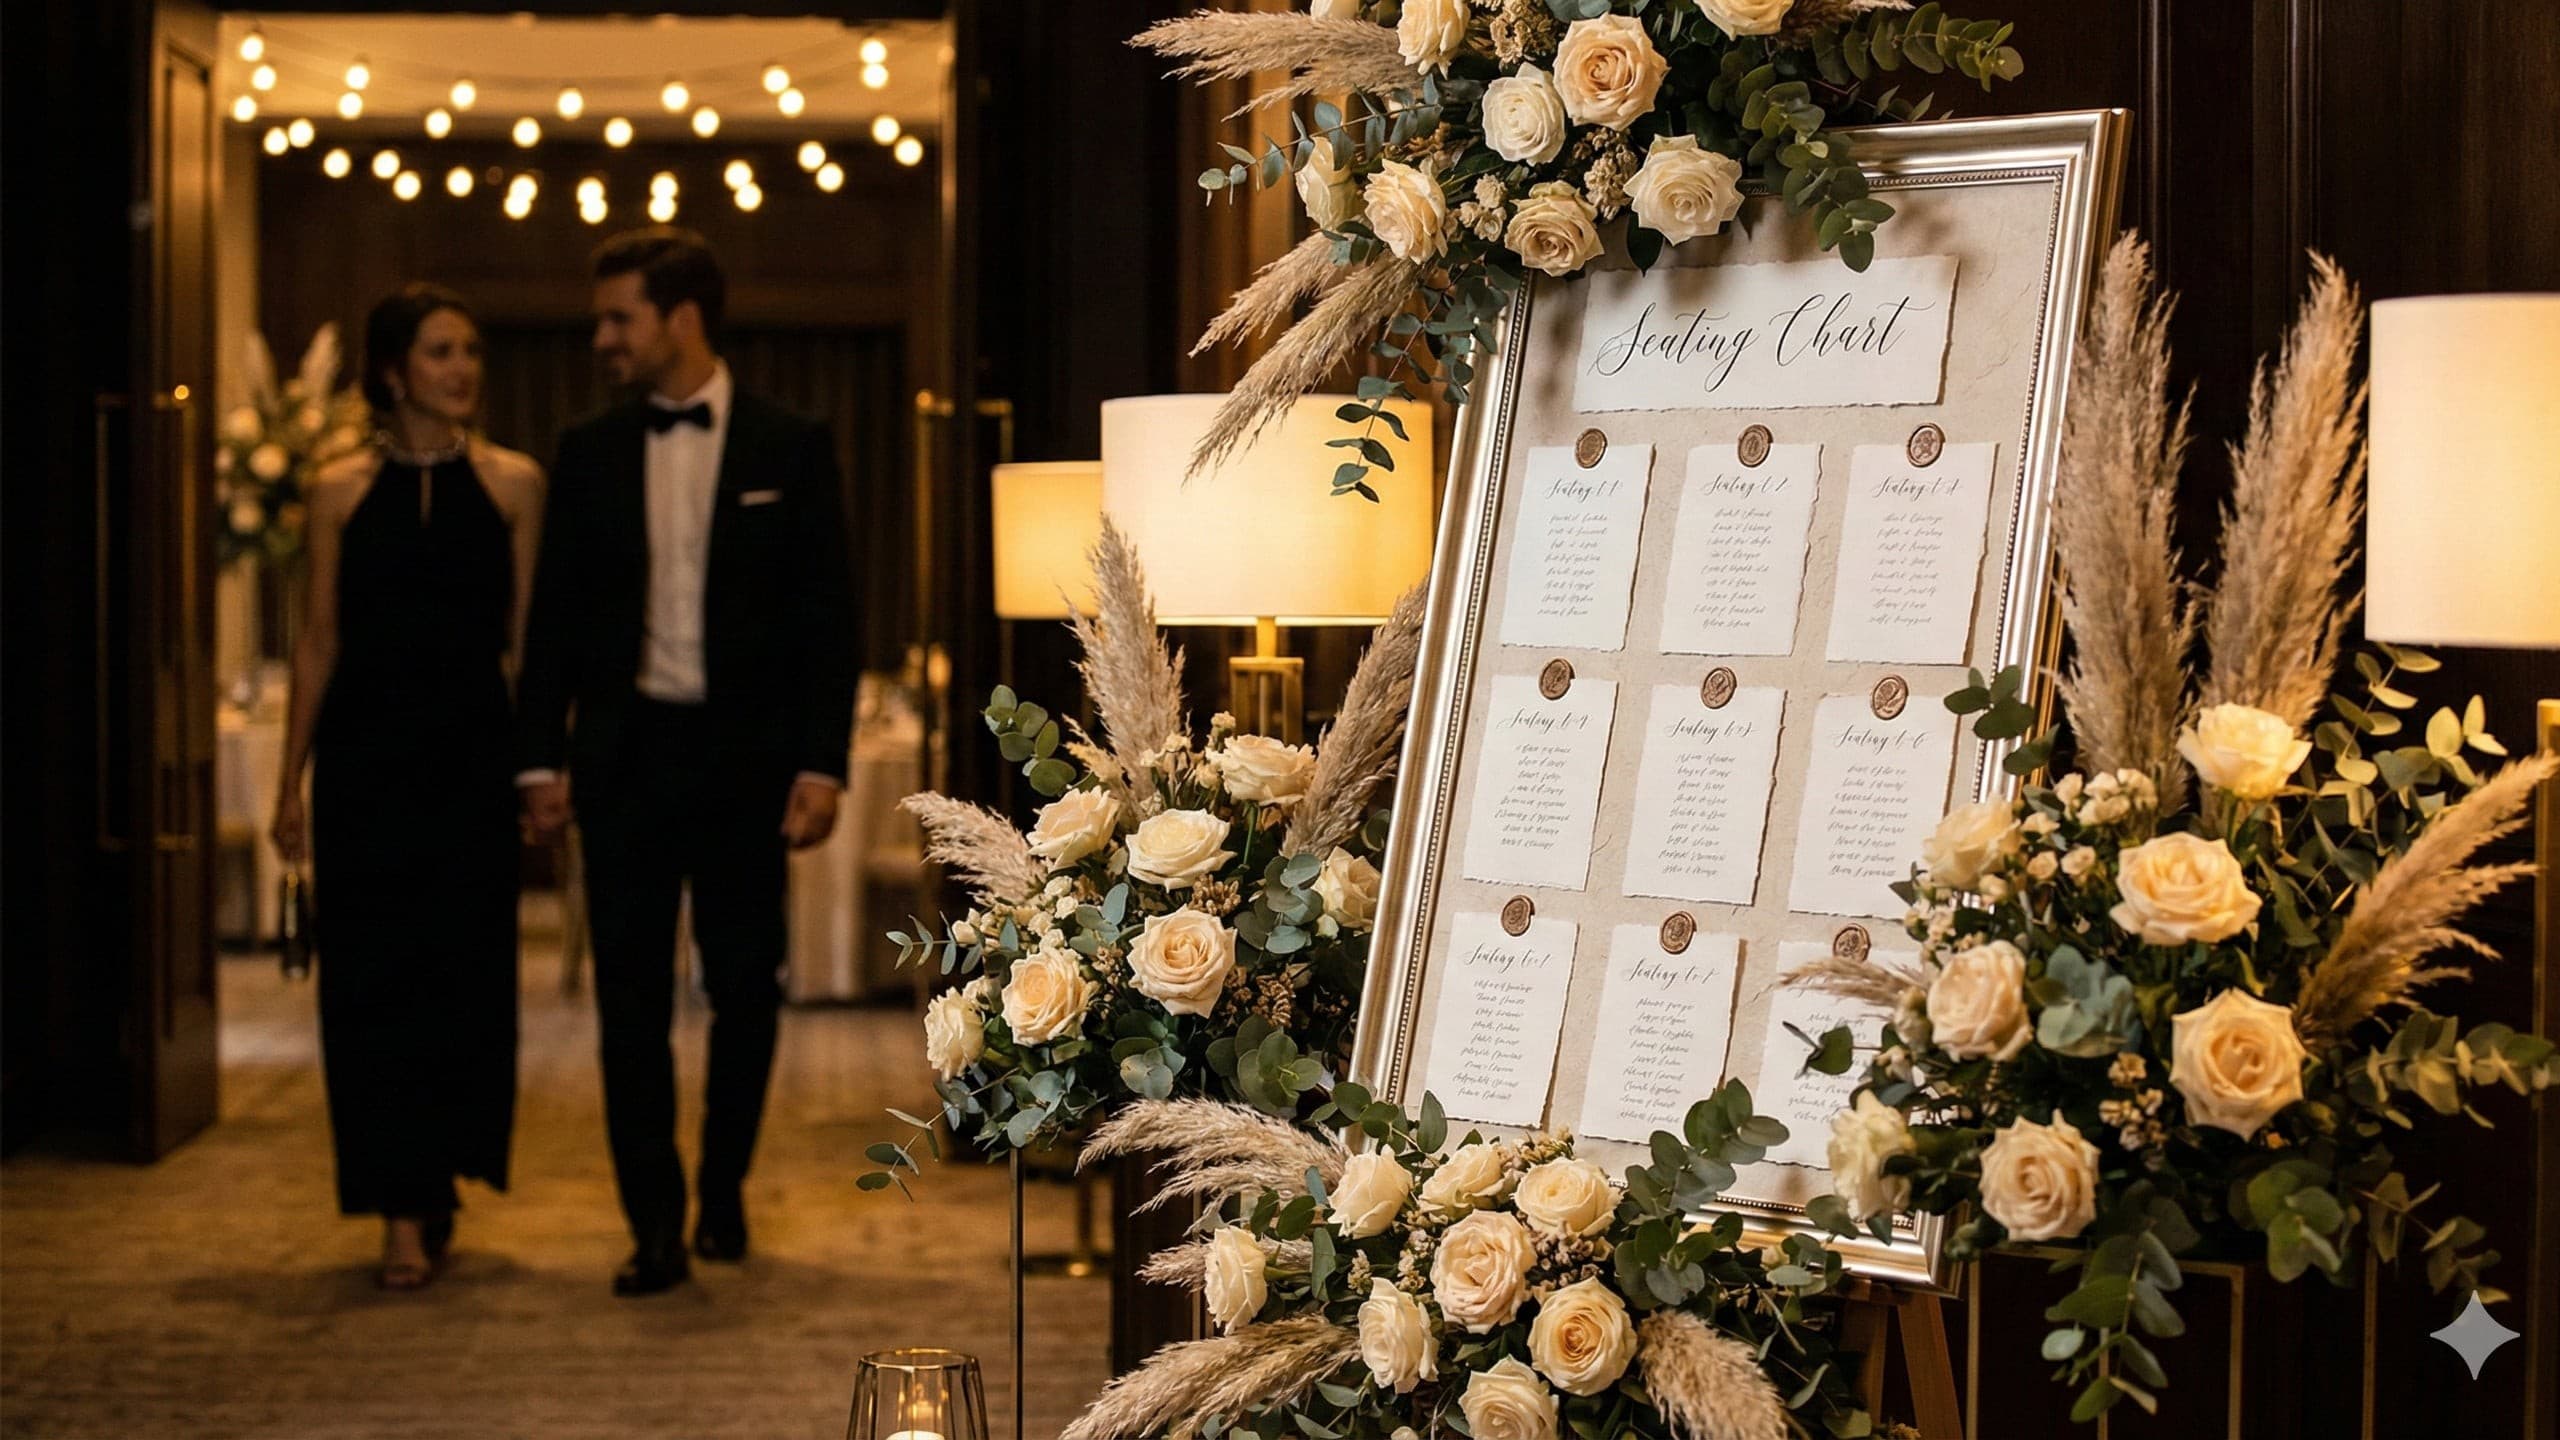
Your seating chart display tells guests where they are sitting. It needs to be visible, organized, and positioned where guests naturally gather — typically near the entrance to the reception space or at the transition between cocktail hour and dinner.
Common display options:
• Escort card table: Individual cards arranged alphabetically by last name, each listing the guest's name and table number/name
• Seating chart board: A single large display (framed poster, mirror with calligraphy, digital screen) showing all table assignments
• Seating chart by table: Table cards listing all guests assigned to each table, allowing guests to find their table by scanning the lists
• Digital display: A screen or monitor showing the seating chart, which can be updated in real time if last-minute changes occur
For weddings over 100 guests, alphabetical escort cards are the most efficient format — guests find their own name quickly without scanning an entire board.
Common Seating Chart Mistakes
Placing the seating chart too far from the reception entrance. Guests should see it the moment they walk in, not wander around looking for it.
Forgetting to account for the couple's seats. If you are sitting at a sweetheart table, do not also count two seats for yourselves at a family table. Double-check your total seat count against your confirmed guest count.
Ignoring dietary needs in table assignments. If your caterer is serving different meals to different tables (common with buffet or family-style service), make sure guests with dietary restrictions are seated at tables where their needs are addressed. If individuals are receiving custom meals, confirm with your caterer that servers know which seat gets which plate.
Making it too late. Do not finalize your seating chart at 1 AM the night before the wedding. Give yourself at least a week of buffer for last-minute changes and to have place cards or escort cards produced.
Assuming couples want to sit together. Married or partnered guests should always be seated together. But for your wedding party, check preferences. Some bridesmaids want to sit with their partner during dinner; others are happy at a wedding party table.
Using Technology to Simplify the Process
If you have ever tried to make a seating chart on paper — moving sticky notes around a hand-drawn room layout — you know how quickly it becomes chaotic. One change cascades through three tables. A last-minute cancellation opens a seat that needs to be filled. A dietary restriction you forgot about forces a swap.
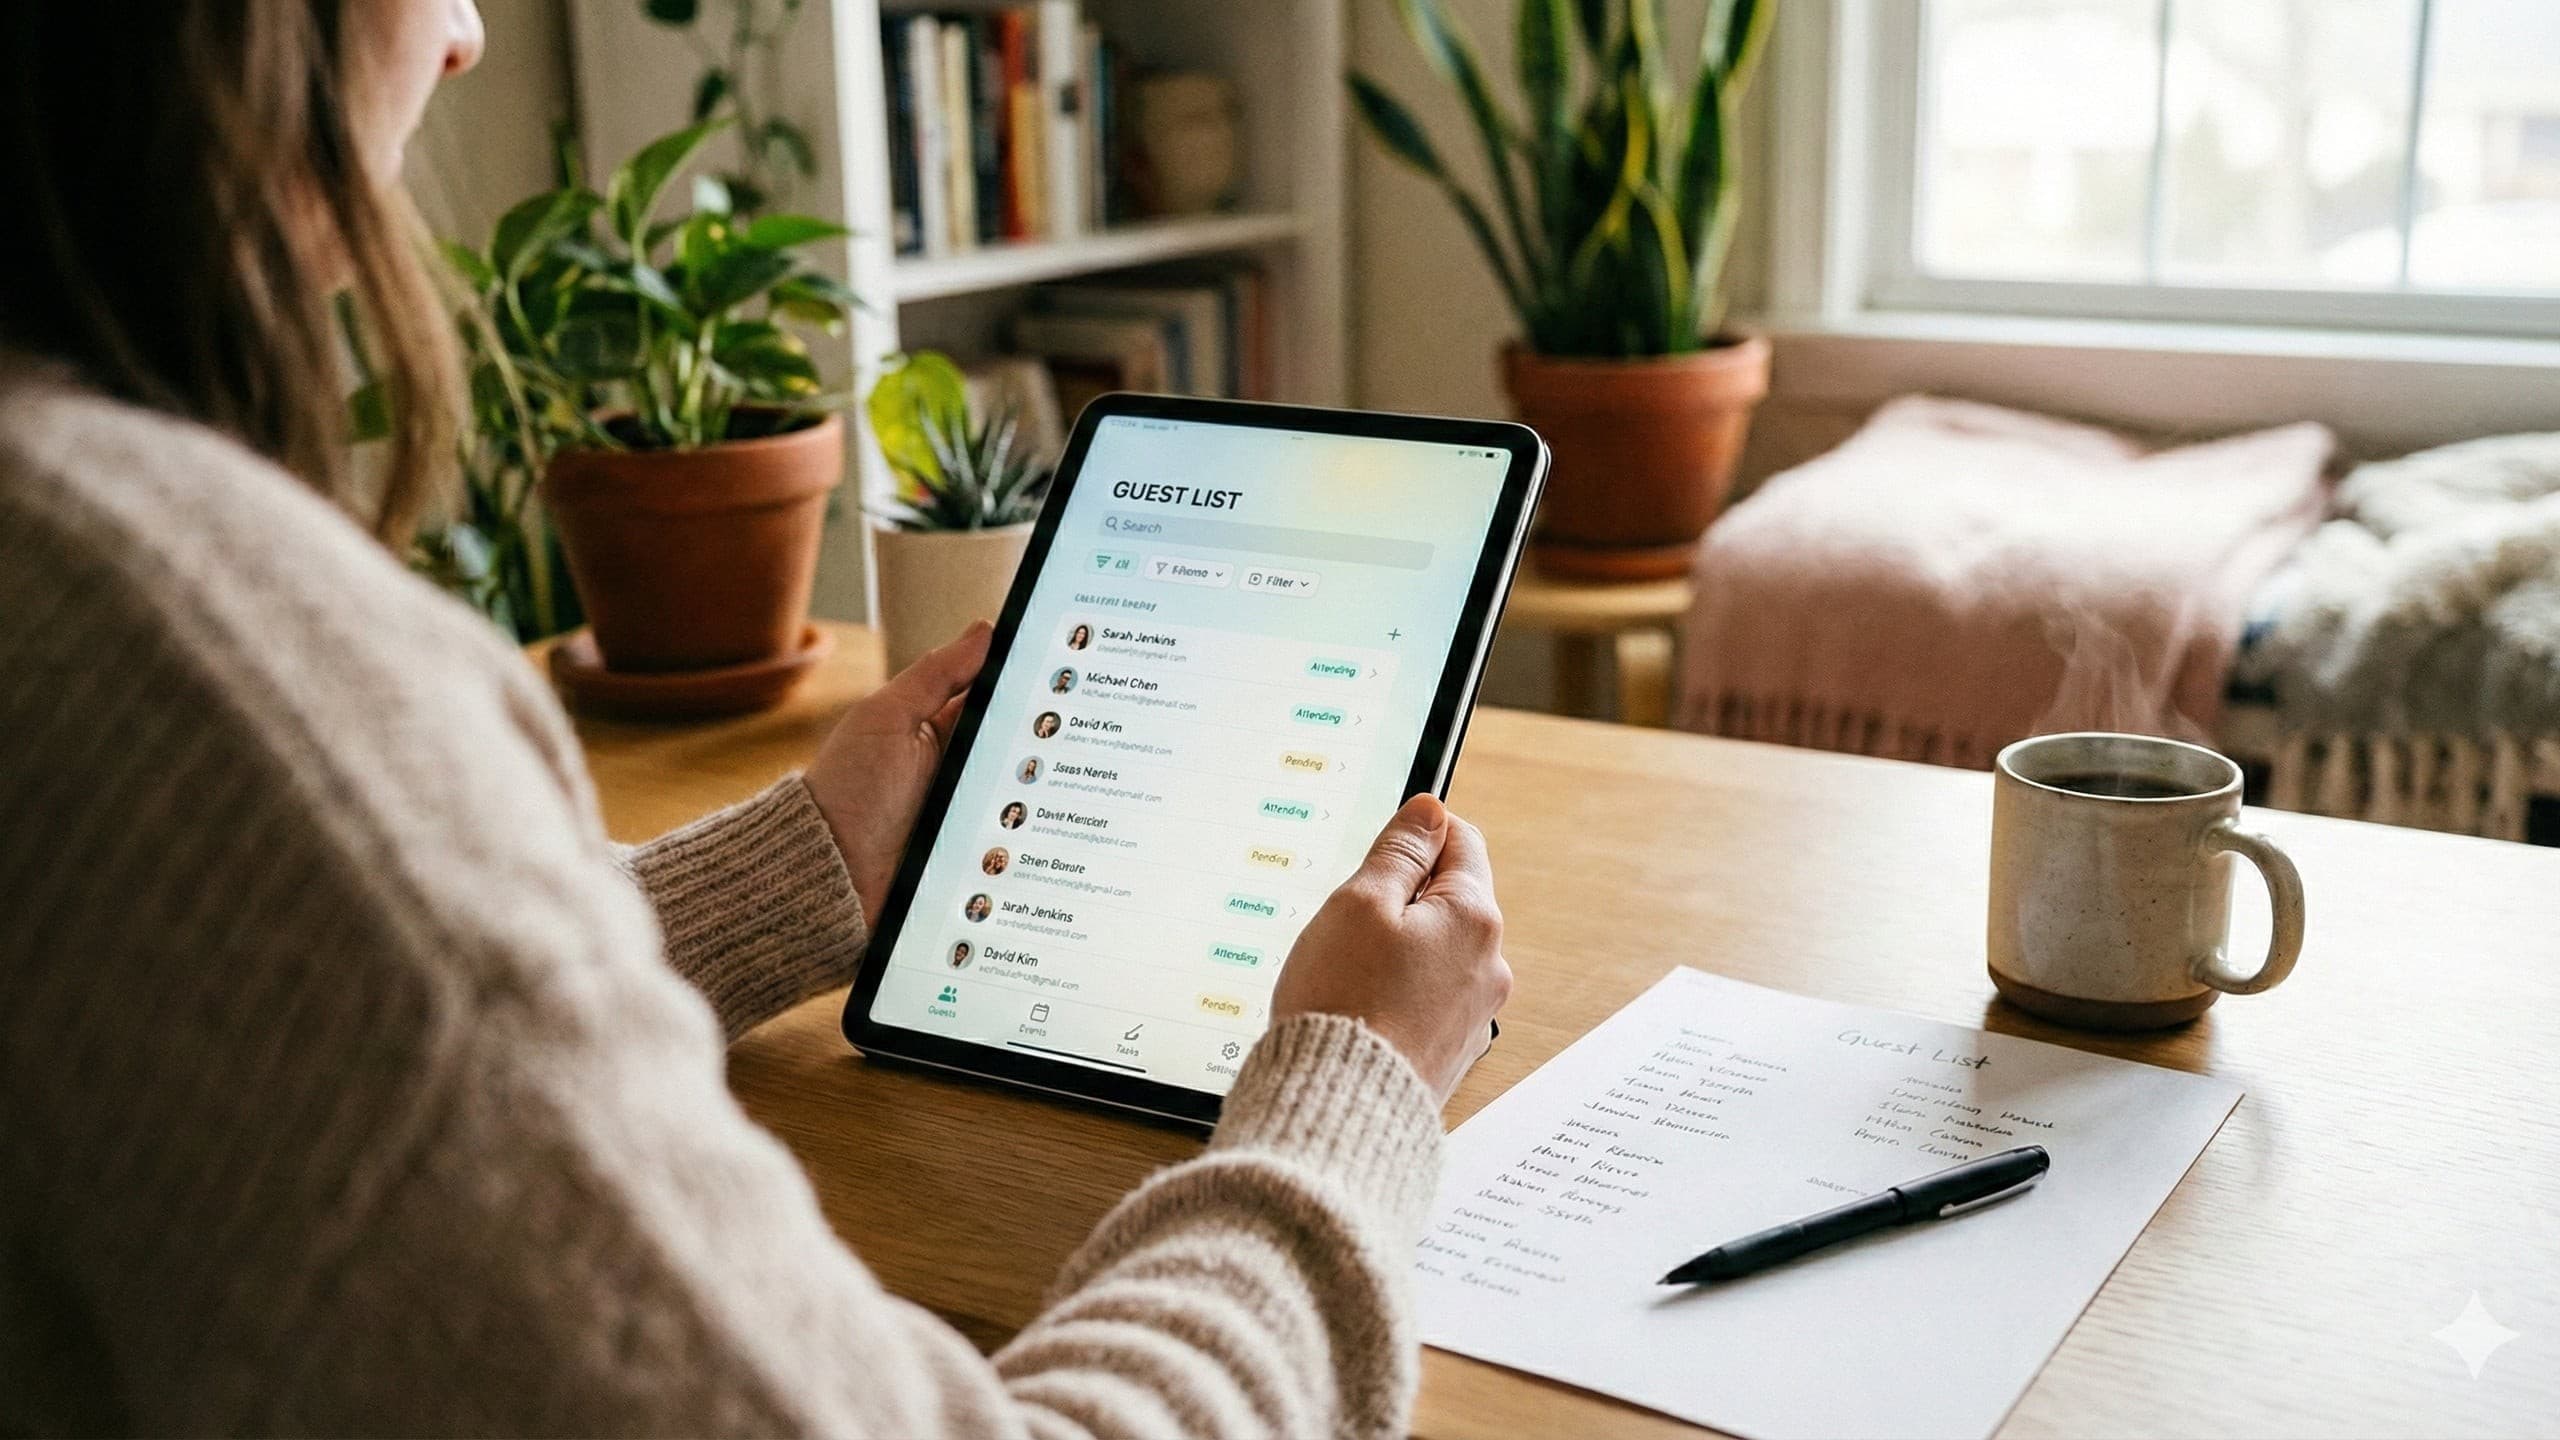
Digital seating chart tools solve this by letting you drag and drop guests between tables, see real-time counts, filter by dietary need, and visualize your room layout before committing. Eventifia's drag-and-drop seating chart tool connects directly to your guest list and RSVP data, so you are working with confirmed attendees and their dietary information in the same interface. Move a guest from Table 5 to Table 8, and the counts update instantly. Filter to see all vegan guests and confirm they are seated at tables with vegan options. Export the final chart to share with your caterer, planner, and venue.
For weddings over 75 guests, a purpose-built seating tool is not a convenience — it is a sanity saver.
Your Seating Chart Action Plan
STEP 1: GATHER YOUR DATA (3-4 WEEKS BEFORE)
• Finalize your RSVP list with confirmed guests and their plus-ones
• Collect all dietary restrictions and accessibility needs
• Confirm your venue's table layout, table sizes, and room dimensions
STEP 2: CREATE YOUR CLUSTERS (3 WEEKS BEFORE)
• Sort guests into natural social clusters
• Identify connectors who can bridge groups
• Note any guests who should NOT be seated near each other
STEP 3: BUILD YOUR FIRST DRAFT (2-3 WEEKS BEFORE)
• Assign clusters to tables, starting with the most complex groupings (family tables with divorced parents, VIP tables)
• Check table counts — every table should be neither too empty (awkward) nor over-full (cramped)
• Verify that couples, dates, and families are seated together
STEP 4: REVIEW AND REFINE (2 WEEKS BEFORE)
• Walk through the chart from each guest's perspective. Ask: will this person enjoy who they are sitting with?
• Check sight lines — can important guests (parents, grandparents) see the couple?
• Verify dietary needs are accommodated per table
• Get your partner's sign-off
STEP 5: FINALIZE AND PRODUCE (1-2 WEEKS BEFORE)
• Lock in the final chart
• Order or print place cards, escort cards, or seating display
• Send final table assignments to your caterer, planner, and venue coordinator
• Prepare for 2-3 last-minute adjustments (there are always a few)
Final Thoughts
A well-crafted seating chart is invisible to your guests. They sit down, find themselves surrounded by people they enjoy, have great conversation over dinner, and never once think about the hours of strategic decision-making that put them there. That invisibility is the goal. When no one comments on the seating, you nailed it.
Approach it with patience, a clear strategy, and the right tools, and this task transforms from a source of stress into an act of hospitality. You are not just assigning seats — you are curating your guests' experience of your wedding dinner. That is a meaningful thing to do for the people you love.
Ready to build your seating chart without the sticky-note chaos? Try Eventifia's drag-and-drop seating tool and create your perfect arrangement in a fraction of the time — with real-time guest data, dietary tracking, and instant table counts.